
Spring into September!
We have had a very productive September and feel like we have sprung into Spring! We started off with Paua Tahi learning about propagation. Keep an eye out on our future blogs to see how our cuttings turn out.

Each week we carefully care for our garlic by giving them a good water with either some worm juice or seaweed, weeding any small weeds that pop up and checking for garlic rust. No sign of rust yet and our garlic is still going strong! We can’t wait to make some delicious garlic bread at the end of the year!

Our spring seedlings were ready to be planted out so we soaked them with seaweed fertiliser and gently popped them into the ground. We also did some more direct sowing of seeds that prefer to be directly sowed like radish and rocket. We look forward to seeing what grows!

We then moved into collecting our own seed and the processes involved. We collected seed from sunflowers, chilli, spinach, basil and pumpkin and learnt about how different plants have seeds in different places.
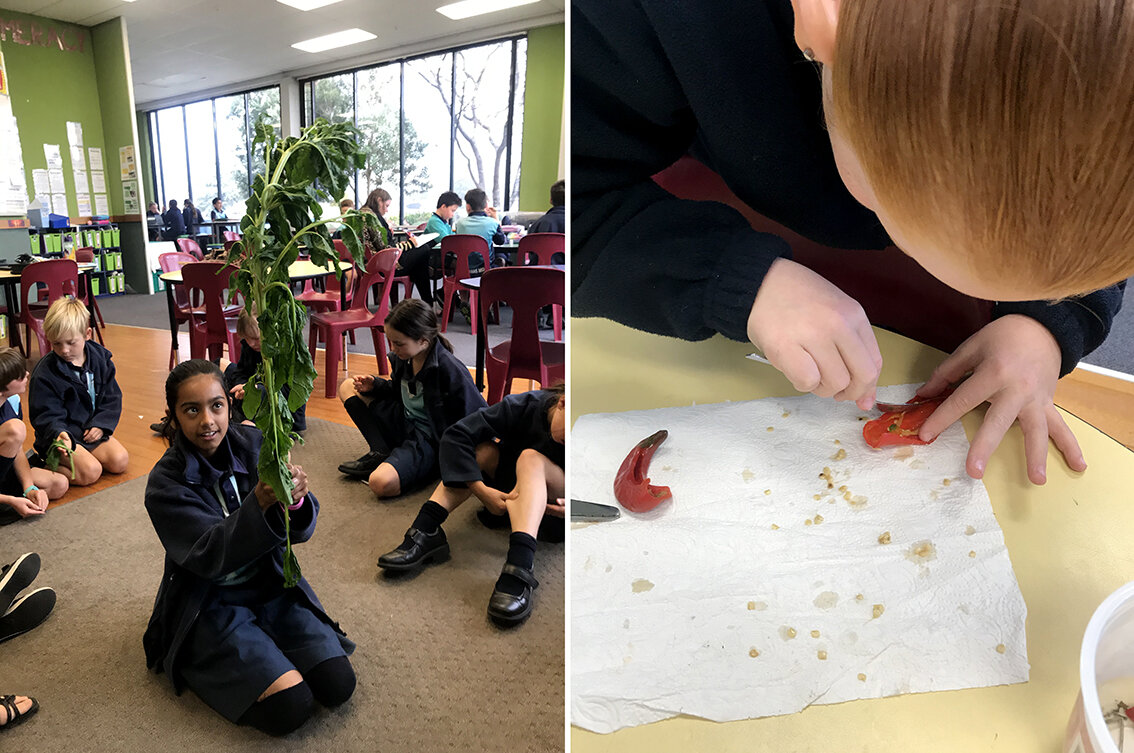

Did you know that chilli’s and pumpkins are technically fruit as they have seeds on the inside! We learnt a new technique for collecting pumpkin seeds by scooping out the seeds, filling the jar with water and then giving it a shake each day. Over a week, the seeds will be ready to collect as they would have separated from the slimy orange film that normally protects a pumpkin seed. Just drain into a sieve and voila, your seeds are ready!

We marked out where we want to put our new garden beds for kumara, sunflowers and grapes and started digging to loosen up the ground.

We also noticed that our radishes started to get very big so we picked those and shared them around with the other classes and teachers. Some kids loved them and would eat them like a carrot, other kids found them too spicy but I was still impressed they gave them a try!


As the holidays were approaching, we decided to try different methods to grow kumara tipu or kumara shoots. The first method was cutting off the “eyes” (which look like bumps in the kumara) and putting them into water. The second method was poking toothpicks in the side of the whole kumara and putting it over a jar of water. The third method was burying the whole kumara in sand and keeping it moist. We also thought we would experiment with organic kumara and non-organic. Stay tuned to see which way worked best!
