Seedy Surprise

20190405_105436.jpeg

Today we were cleaning out the Year 7 garden and we noticed loads of tiny tomato seedlings scattered throughout the garden. Where on earth were they coming from? We hadn’t planted any tomato plants lately! We found our answer when we spotted this decomposing tomato lying in the garden. We concluded that the seeds from unharvested tomatoes were getting enough water, shelter and nourishment from the rotting tomatoes to germinate. Isn’t nature amazing!

Last week Clare asked our gardeners to bring in something they could recycle to turn into planter boxes.  Today one student brought in this converted pallet, which she’s going to plant out with strawberries, lettuces, poppies (her Dad’s favourite) and other seeds. We will attach it to the fence in the garden club so she can work on it. What a great idea.

Seeding, Feeding, Collecting and Tidying

Autumn is here and it’s time to finish harvesting our summer produce. That includes our sunflowers! Today we were busy de-seeding the big flower that the bees were so busy on a couple of weeks ago. We have given some seeds to the hungry birds, and as for the rest – some will be saved for the gardens next year, some are for selling and some are for us to take home. We can eat them or save them, the choice is ours.

We also wanted to make some plant food for our winter garden beds, so we made compost ‘tea’. This tea is not for us to drink – no THANK YOU! – it contains horse poo, sheep poo, comfrey, grass clippings (and some of our morning tea)! But it will be just great for our gardens. We learnt how organic matter like this helps feed the soil which in turn grows stronger vegetables.  

As well as harvesting and soil feeding, autumn is a time to tidy up the garden, there are the old summer plants to clear away, along with loads of summer weeds. So we had plenty of work to do and plenty to put into the compost bins.

20190322_112810.jpeg

The Year 8s have been trying out different ways they can harness the rainwater for their gardens. Here’s what we have at the moment:

20190322_102116.jpeg

The Seedling Market Story

Here’s the story of our Seedling Market and how our community came together to help…

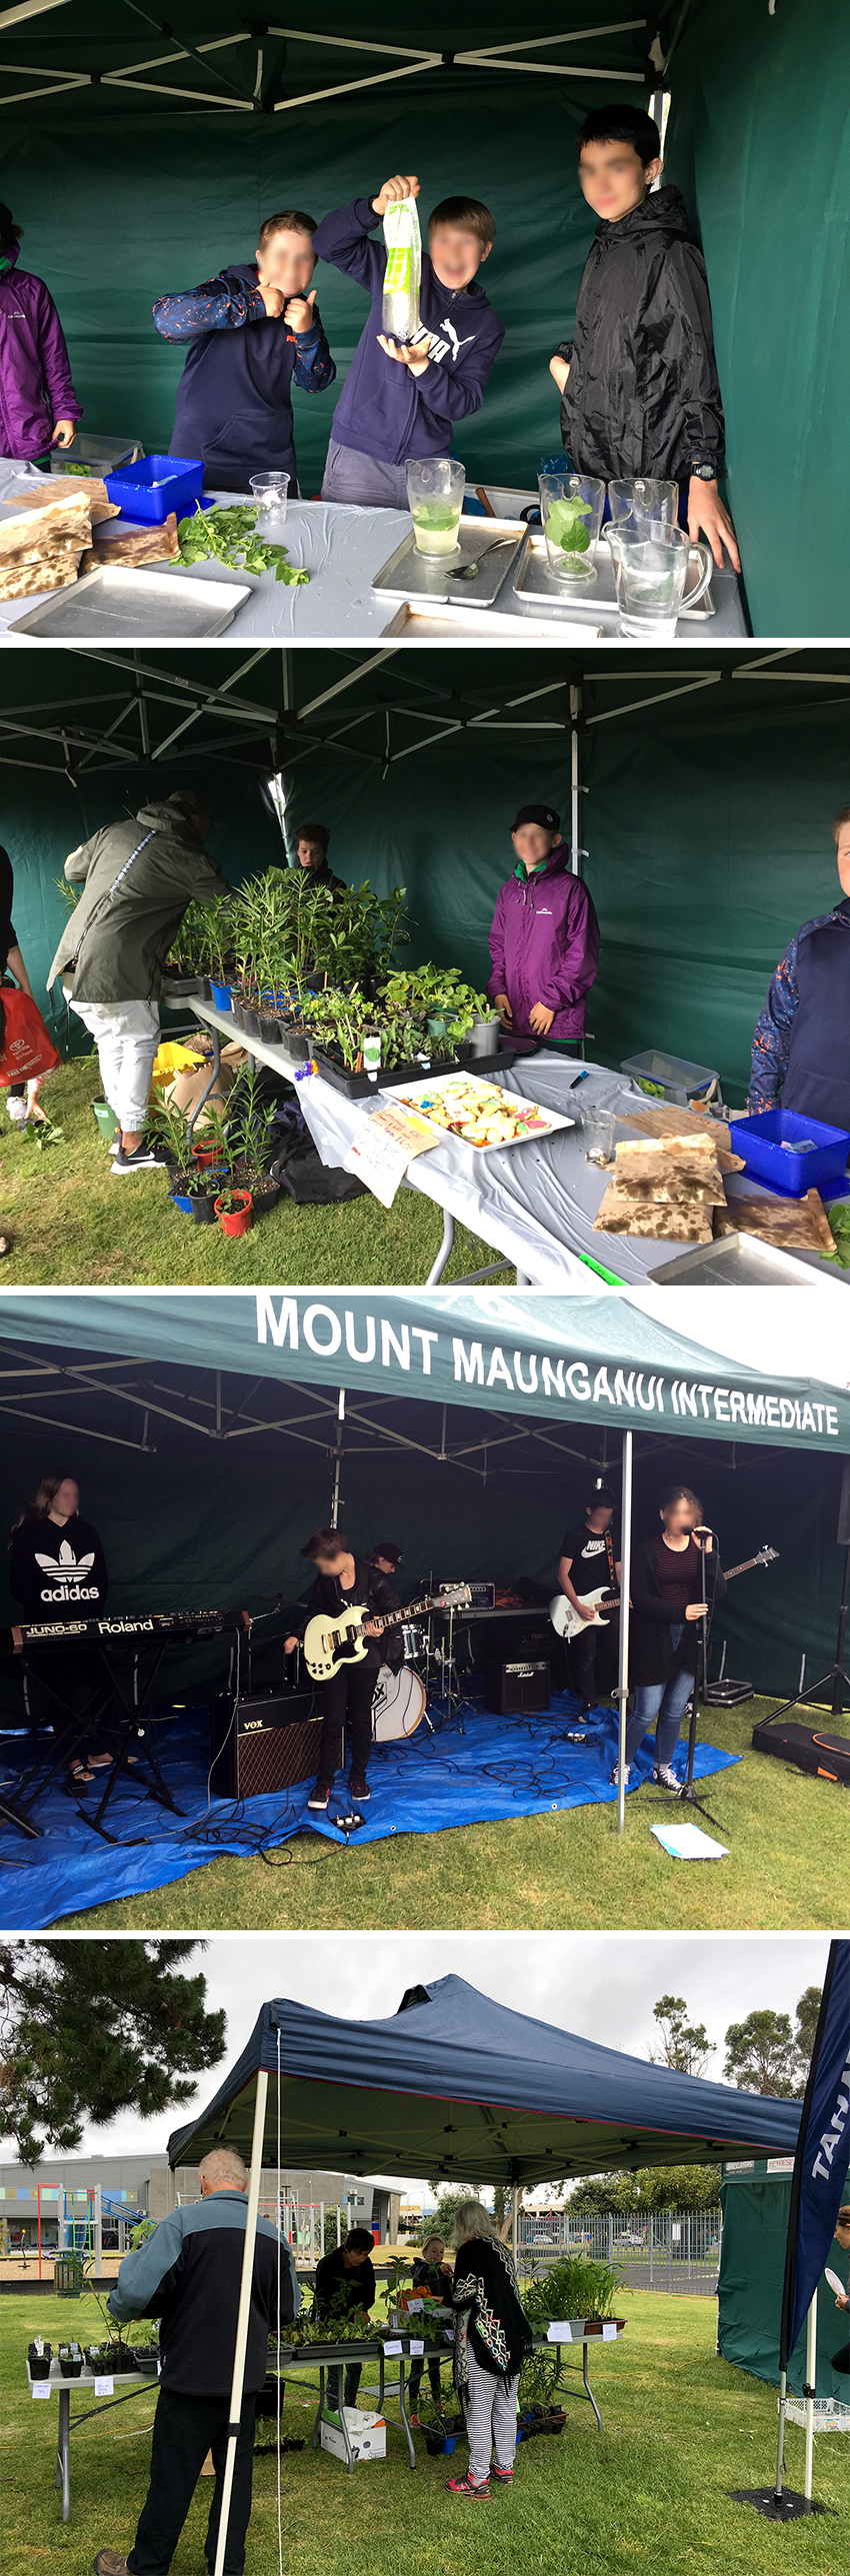
Our four member schools had been planning a combined seedling market to be held just after the school holidays. We wanted to share our produce, and even more importantly our ideas, with our local community, and show them what we’d been learning and growing. We invited our neighbour school, St Thomas More, to have a stall too.

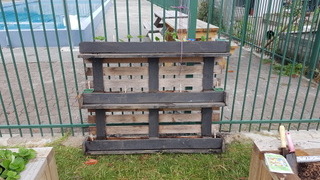
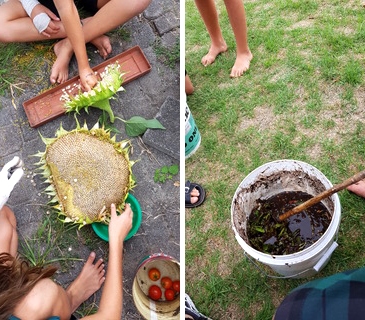
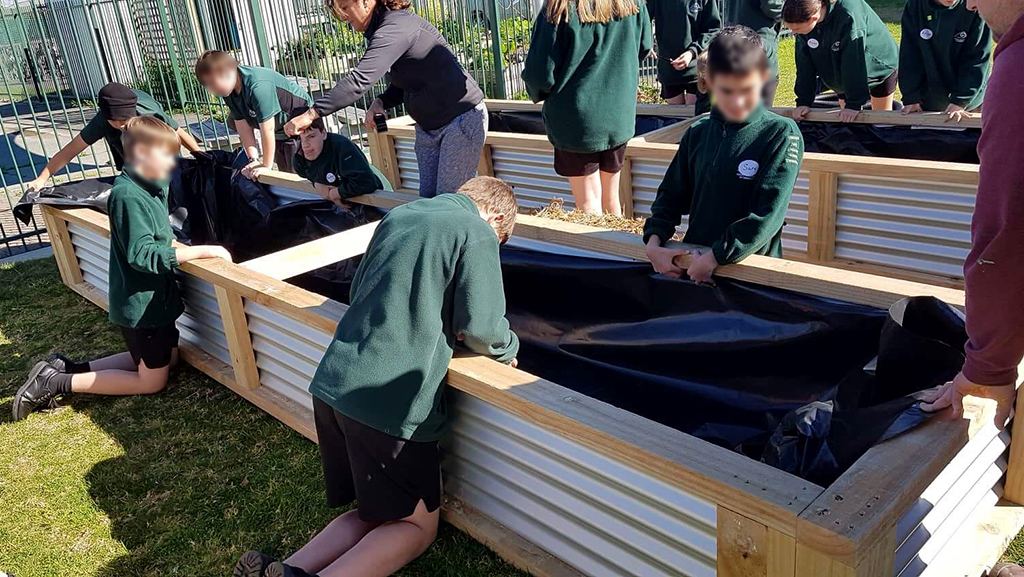
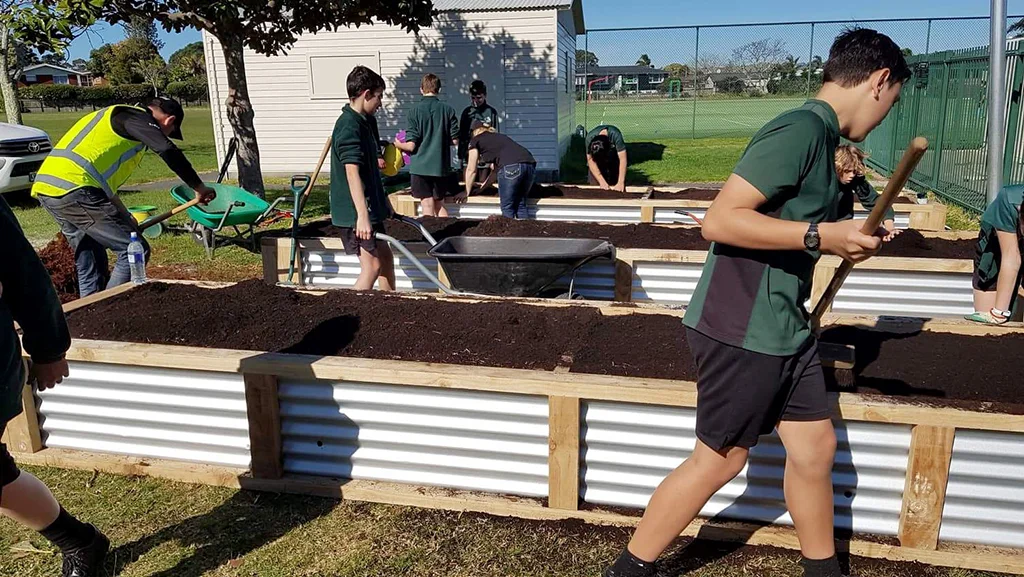
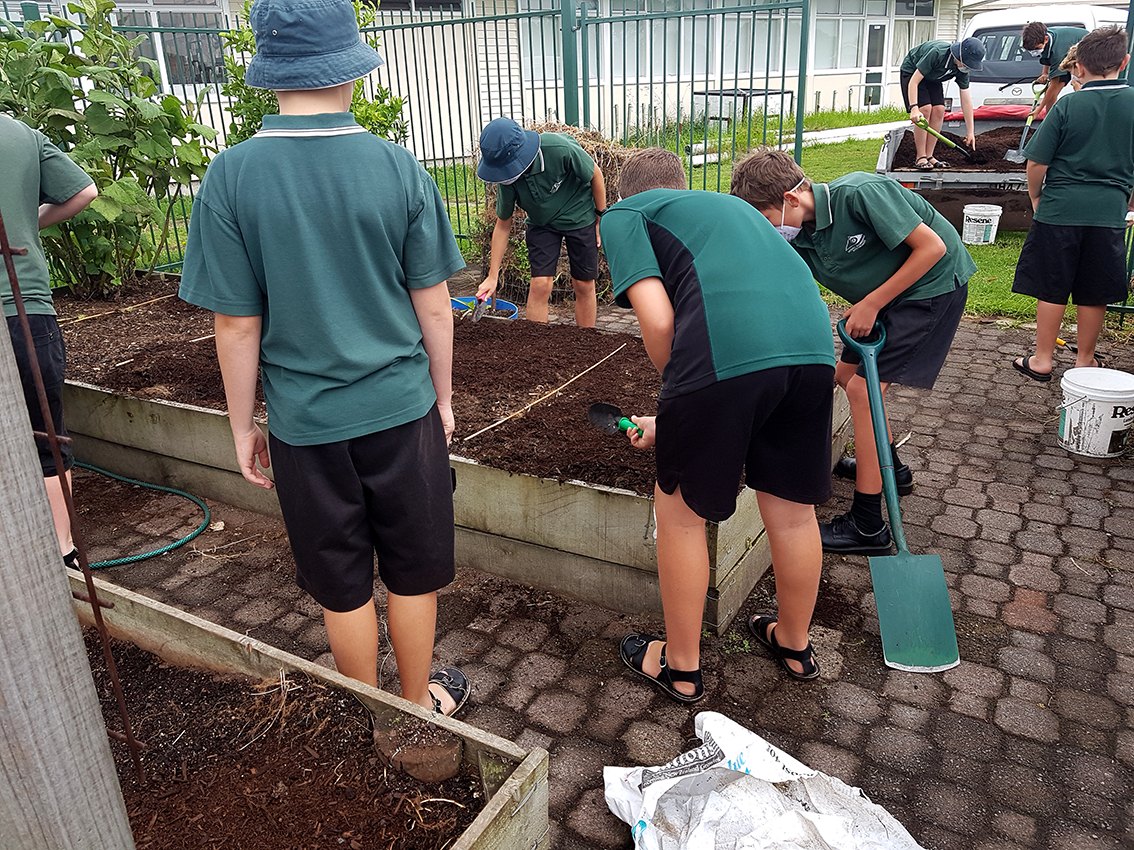
We had all been growing different plants from seed for a few weeks and Whaea Heidi from PiPS had organised for us to hold the sale at Arataki Park on Saturday. She did a lot of work to arrange it all, and other stalls like a coffee cart, bike repair stall, sausage sizzle and live music too.

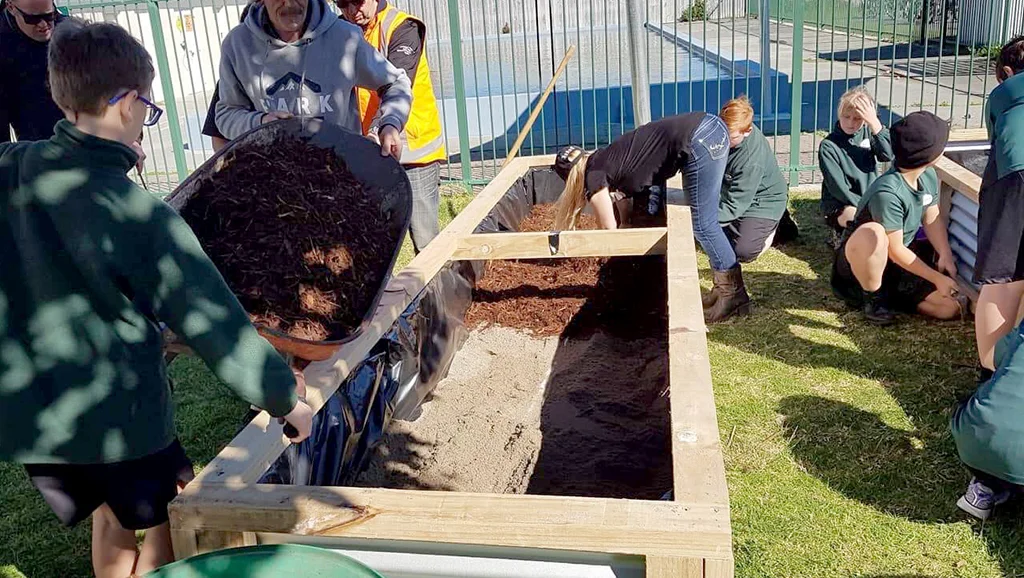
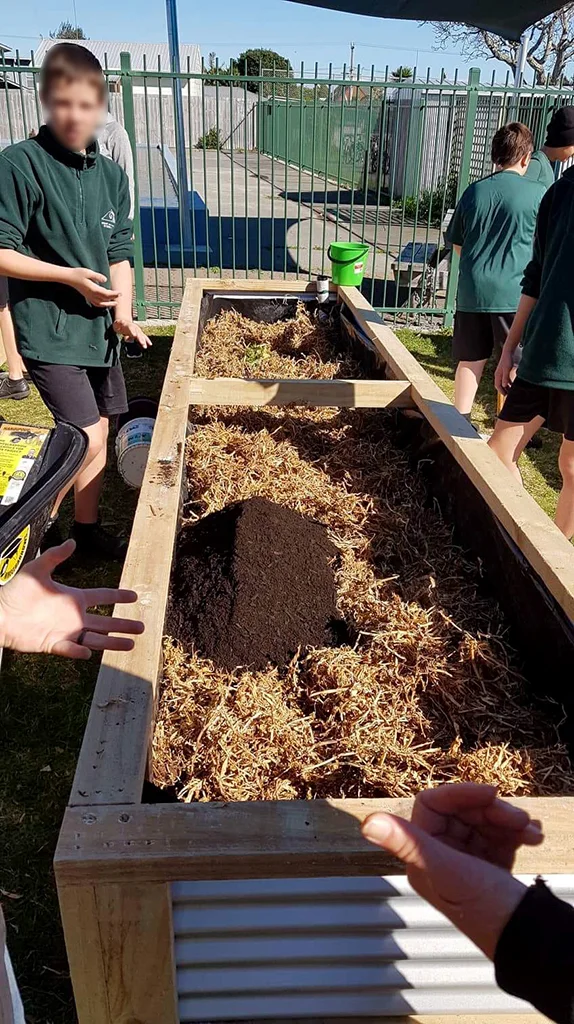
But then a few things happened. Whaea Clare had to take some time off work for family reasons and there was a drought over the holidays. The result of these combined factors was that for most of our schools, our carefully nurtured seedlings died over the school holidays.

After all the work Heidi did organising and publicising the market she wasn’t going to give in! She put the word out and all sorts of people and organisations including the Mt College horticulture class and Good Neighbour came to the rescue, donating plants and produce to replace what we’d lost. In the end the market was able to go ahead, and despite some very cold and showery ‘spring’ weather it was a real success. In some ways it was even more of a success than if our plants hadn’t died because the generosity and help we got from others helped to form some great relationships.

Thank you to everyone who donated time or produce to help make it such a success against the odds, to the kids who helped out with selling, to Mrs Robertson and Mrs Taylor for all their mahi, and of course a very big pakipaki to Heidi and Clare.

PS: We were so busy selling and chatting that we forgot to take many photos! So you will just have to trust us that it was a great morning :)

IMG-1032.JPG

Trip to Kereru Gardens

We were out and about today, which was pretty exciting. Our first stop was Kereru Gardens plant nursery out in Pyes Pa. Our job was to choose some plants for the school which we have been awarded through the Paper for Trees programme, and we each got to pick a plant.

We also learnt how Kereru Gardens propagate their plants and how they choose which ones to grow.

And we tried a fruit that none of us had ever eaten before – Mexican lime. It was VERY sour!

On the way back to school we popped into Palmers Welcome Bay to pick up the Year 8’s fruit trees that they are going to plant in the school orchard.

20180921_120253.jpg

Wicking Bed Day

Today was a big day – we got to fill our brand new wicking beds! What are wicking beds, you ask? Read all about them here.

Our wicking beds have been made possible with the help of lots of people and several generous organisations. They are: TECT, who gave PiPS a grant to build the beds: Fonterra Grass Roots Fund, who also gave us a grant: Good Neighbour, who organised the whole project, built the beds, ran today’s working bee, supplied food AND volunteer workers to help us: and Daltons, who donated all the compost and mulch to fill the beds. And don’t forget the staff, students and Clare our Garden Facilitator.

Thank you to everyone who has made this project possible.

Here’s a step-by-step account of how we did it.

Here are the empty beds, ready for filling. We have three beds each 4m long x 1m wide – that’s a lot of new planting space! The beds were delivered in sections yesterday, and volunteers from Good Neighbour came and put them together and set them int…

Here are the empty beds, ready for filling. We have three beds each 4m long x 1m wide – that’s a lot of new planting space! The beds were delivered in sections yesterday, and volunteers from Good Neighbour came and put them together and set them into place.

The first step today was to line each bed with plastic. Normally we’d like to have the earth in a raised bed in contact with the ground, so moisture, beneficial creatures and microbes could move between them, but because we want this bed to retain w…

The first step today was to line each bed with plastic. Normally we’d like to have the earth in a raised bed in contact with the ground, so moisture, beneficial creatures and microbes could move between them, but because we want this bed to retain water, we need to seal it off.

We taped the plastic around the top edge of the bed, and paid special attention to folding the corners so the whole liner is sitting neat and flat. We made holes in the sides of the plastic liner that corresponded with holes in the metal sides of th…

We taped the plastic around the top edge of the bed, and paid special attention to folding the corners so the whole liner is sitting neat and flat. We made holes in the sides of the plastic liner that corresponded with holes in the metal sides of the bed (you can see them in some of the other photos). These provide emergency drainage for the times when we have too much rain, to prevent the bed from flooding.

We then prepared the pipe that’s going to run along the bottom of the bed. The pipe has holes in it. This is what will hold and distribute the water to our plants.

We then prepared the pipe that’s going to run along the bottom of the bed. The pipe has holes in it. This is what will hold and distribute the water to our plants.

The pipe got wrapped with frost cloth, which was taped on tightly. The frost cloth will prevent the holes in the pipe getting blocked with dirt and sand, but will still allow water to permeate through. We sealed off one end of the pipe with tap…

The pipe got wrapped with frost cloth, which was taped on tightly. The frost cloth will prevent the holes in the pipe getting blocked with dirt and sand, but will still allow water to permeate through. We sealed off one end of the pipe with tape but left the other end open.

We carefully laid the pipe down the centre of the bed, making sure the open end came up to the top of the box.

We carefully laid the pipe down the centre of the bed, making sure the open end came up to the top of the box.

When the pipe was in place we covered it with sand.

When the pipe was in place we covered it with sand.

Then we put a 20cm layer of mulch on top of the sand.

Then we put a 20cm layer of mulch on top of the sand.

This was also a good point to add any other compostable plant matter we had lying around.

This was also a good point to add any other compostable plant matter we had lying around.

We toppd the mulch layer with a sprinkling of lime. Lime will help the mulch decompose.

We toppd the mulch layer with a sprinkling of lime. Lime will help the mulch decompose.

Then we added a layer of pea straw on top of the mulch. Pea straw adds nitrogen to the mix, which is really important to help our plants grow strong, healthy leaves.

Then we added a layer of pea straw on top of the mulch. Pea straw adds nitrogen to the mix, which is really important to help our plants grow strong, healthy leaves.

Next we put 20cm of compost on top of the pea straw.

Next we put 20cm of compost on top of the pea straw.

…and a dusting of blood and bone on top of that. The blood and bone adds a lot of nutrients to the soil, which will help our plants grow strongly.

…and a dusting of blood and bone on top of that. The blood and bone adds a lot of nutrients to the soil, which will help our plants grow strongly.

And we continued with more layers of mulch and lime, and compost and blood and bone, until the bed was really full and mounded up in the middle. As the air is compressed out of the mix the filling will settle and sink down.We then put the hose into …

And we continued with more layers of mulch and lime, and compost and blood and bone, until the bed was really full and mounded up in the middle. As the air is compressed out of the mix the filling will settle and sink down.

We then put the hose into the pipe for about half an hour. The water will seep from the pipe and into the bottom of the bed. The roots of our seedlings will grow downwards, seeking the water. This means our plants will develop deep, strong roots and also that we won’t lose water to evaporation, which is what happens when we water our plants on the surface of the soil. 

Then we got to plant our seedlings.

Then we got to plant our seedlings.

We added more mulch around them.

We added more mulch around them.

What a team!

What a team!

Thank you again to everyone who helped us. These beds will be an asset not just for our school and students, but for our whole community for many years to come.

Making Yakon Syrup

After watching a video about how to make yakon syrup we decided to have a go using the yakons we’ve grown in our garden.

We peeled, cut and juiced the yakons then simmered them in a bit of water. They need to simmer overnight so Mrs Taylor will take them home and see what happens…

yakon.jpg

And in more exciting news… We got the OK to plant the orchard AND to build the plastic bottle greenhouse today! 

For the orchard, we started making a plan and a list of the trees we want to plant.

We worked out the measurements of the greenhouse so the school can approach Placemakers and Bunnings and see if they’ll donate some timber for the framing, and we’ll ask the community to provide the plastic bottles.

greenhouse.jpg

Matariki Week

Matariki was traditionally a time for remembrance, celebration and fertility for Maori people, so it was a day for us to celebrate today too. The appearance of the Matariki stars also helped Maori decide when to plant their spring crops:

“The coming season’s crops were planted according to the portents read in the Matariki star cluster. If the stars were clear and bright, it was a sign that a favourable and productive season lay ahead, and planting would begin in September. If the stars appeared hazy and closely bunched together, a cold winter was in store and planting was put off until October.”

In keeping with tradition Block 1 made their plan for our summer planting. Now we’ll need get up before dawn this week to see what the Matariki stars look like, so we can figure out when to plant these crops this coming spring!

In the meantime we planted a mandarin tree into a pot in the garden club to celebrate. These gardeners are in Year 7, so will still be here next winter to eat the mandarins it will hopefully produce, which is a good incentive to look after the tree well!

block 1.jpg

Block 2 also planted a citrus tree, a generous thing to do for future students at the school, while Stephen and Josiah added a hebe. They worked as a team sharing the responsibility of planting it, said a karakia over it and were justifiably very proud of their mahi.

hebe planting.jpg

Planting for Winter

planting.jpg

Today we filled the gaps in the garden beds with more seedlings to keep us going through the winter months. We also took care of the beds by weeding, watering, fertilising and mulching them, and planted up the no dig bed with broad beans and lettuce.

Oh, and check. out our super healthy worm farm…

worms.jpg

Jacob made his own soil blocks. He used seed raising mix, worm wee and seaweed fertiliser.

jacob.jpg

Eating What We Grow

Before Food techonogy today Mrs Taylor harvested all this produce from the garden. The Block 1 class cooked with the vegetables that the gardening club grew. We felt so proud of ourselves and we’re sure the veges tasted extra good today :)

veges in sink.jpg

No Dig Garden

We had a spare kiwifruit bin and the Block 1 boys decided it would be good to turn it into more growing space, so we did some research and decided on trying a No Dig garden.

No Dig gardens are perfect for spaces where the soil isn’t good, eg: sandy or clay, because you are creating a layer of rich growing medium on top of what’s already there. As the straw breaks down over time it helps to enrich the soil underneath, so it’s a great way to build up and improve your soil. It’s also good for people who can’t bend down, because you are building the garden upwards.

We put the straw into the bin, spread it out, wet it and then started ‘conditioning’ it with potash, sheep pellets amd worm castings to provide nutrients for the plants we will put in there.

During the week our gardeners will continue to keep the straw damp and add more sheep pellets and blood and bone. Watch this space ...

no dig.jpg

Baking and Sharing

Today was all about sharing and getting to know each other.

Because it was raining Block 1 and 2 combined together and went into the kitchen to bake herb scones, using the parsley, oregano and chives we grew in the garden. It was fun cooking with something we grew ourselves and the scones tasted fantastic. Block 1 also got to try the rose petal tea that is Block 2’s specialty, and we came up with ideas of other herbs that we could make tea with too.

The rain stopped near the end of the session so we were able to go out to the gardens together and compare notes about what we were growing and how everything was going.

Today made us realise that this is one of the cool things about being gardeners – having gardening as a common interest is a great way to get to know other people.

20180323_112118.jpg

Our scone recipe, if you would like to try it. 

20180323_112349.jpg

The Rain Gets Things Growing

It was raining today so we stayed indoors and did some planning for our orchard. Out in the garden the rain was doing the work for us. Look how well our plants are growing.

20180323_090936.jpg

And look at our seedlings in the pots – we can’t believe that seeds we sowed just two weeks ago are already this big. After Easter these will be transplanted into our gardens or shared with others – maybe some of the other PiPS schools will want some for their gardens?

20180323_090956.jpg

The Story of Jacob and Jack’s Garden

Beside the caretaker’s office was a strip of empty land. It was sheltered, it was sunny, it was a great place to grow things, but all it was growing was grass. Clare and Mrs Taylor thought it would be a good spot to make a garden for Jacob and Jack, two of our most dedicated gardeners who come out every lunchtime to work in the gardens.

Jacob and Jack were keen to have their very own space, but before they started digging they had to think hard about what they needed do to make the garden work. They realised the soil here very is sandy and nothing would grow well in it if they left it the way it was. So they added some compost. Clare also mentioned that making a clay slurry would help to bind the sand – Clare will get some clay in a few weeks when it’s properly autumn and there’s more moisture in the ground and they will add it in then.

Jacob and Jack discussed with Clare which would be suitable plants to put into the garden at this time of the year, and talked about how wind, sun and rain will affect the different plants.

Finally, once all the planning and preparation was done, the carefully chosen seedlings were planted, with a protective layer of pea straw mulch added around them.

Watch this space to follow the progress of this brand new garden!

The grass dug up, edging added, and the compost going in.

The grass dug up, edging added, and the compost going in.

Seedlings being planted and mulch being added.

Seedlings being planted and mulch being added.

A New Way of Planting

Kevin is from Korea and it was his first day at garden club. He chose a plot and then started working it, weeding and turning the soil. Then to our surprise he made these trenches in the soil and mounded four rows up.

We were fascinated as it was totally different from how we are accustomed to doing things here. Kevin said it was the Korean way – you plant on the top of the mound, and the lower trenches hold the water. We can’t wait to see how well his plants grow. Maybe we can try doing this with some of our other plants too, and compare what does better.

20180323_121922.jpg

Today Clare also talked about mulching and why we do it. She showed us a diagram that explained how 80% of the water we put onto the soil will evaporate unless we use mulch. If mulch is added the figure goes right down to 10%. That tells us mulching is definitely a good idea!

We talked about different mulches – dead leaves, newspaper, comfrey, seaweed and pea straw – and the pros and cons of each.

Clare had some of each of them that we could use but we all chose pea straw. Why? We’ll let you know in another post soon.

20180316_100746.jpg

Coming Up Roses

IMG_7031.jpg

Hannah and Amber looove roses, so they volunteered to take care of the school rose garden. They’ve been doing a great job and have been doing lots of reading about how to look after them and researching which varieties we have growing here. They’ve been giving the plants lots of water, worm wee and some special mulch that Clare was given. After Easter Clare is going to teach us all how to make natural sprays to help protect them from pests, and we’ll also start doing some companion planting which will help them even more.

Staying on the subject of roses, it’s becoming a ritual for the Block 2 kids to make rose petal tea to drink at discussion time. We’ve been experimenting with different petals and deciding whether we need to add sugar.

20180309_113817.jpg

And speaking of adding a little sugar… Hannah and Amber decided that the teachers needed some cheering up – what better way than with these lovely blooms :)

IMG_7028.jpg

Welcome!

Welcome to Mount Intermediate’s Garden Club. Clare, our garden facilitator, and Mrs Taylor are going to help us grow, learn and explore this year, and maybe we’ll get to cook with some of what we grow too. Our students are running in two groups we call Block 1 and Block 2, which means we have lots of willing workers and will be able to get plenty done.

Today the Block 1 students started the day by putting compost on all the beds that we’d worked hard to clear out during the week. Clare gave us a talk about wearing masks and gloves when handling compost and potting mix. Clare and Mrs Taylor were amazed at how quickly we worked.

int-2 mar 2018_1 compost.jpg

After spreading the compost it started to rain, so we went indoors and watched a video about how seeds germinate. We learned that the roots sprout first and get nourishment from the soil, which gives the plant the strength to put up a shoot, then the leaves appear and start growing.

Clare gave us a plastic cup, handy towels and four dried peas. We wet the paper towels so they were damp, put them into the cups and placed the peas into the damp towels. We need to water the cup every day and see what happens. Watch this space!

int-2 mar 2018_2seeds.jpg

Mrs Taylor had bought some seedlings and thanks to the hard work of the Block 1 students spreading all the compost, Block 2 were able to start planting into the garden beds. It’s a big change for a tiny seedling to be uprooted from its tray and put into a whole new environment, with different soil, different temperatures and different surroundings, and sometimes they find it hard to recover and don’t grow strongly. This is known as ‘transplant shock’. However there are things we can do to help the plant at this time. Clare talked to us about dipping the roots of our seedlings into seaweed fertiliser before we put them into the ground. Giving them some instant nourishment like this means the roots won’t get as stressed while they settle into their new home.

int-2 mar 2018_3planting.jpg